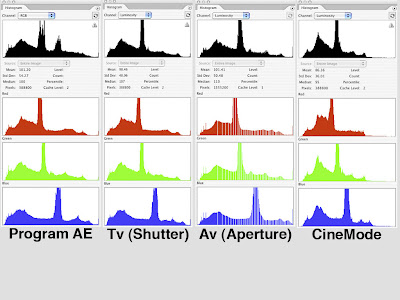
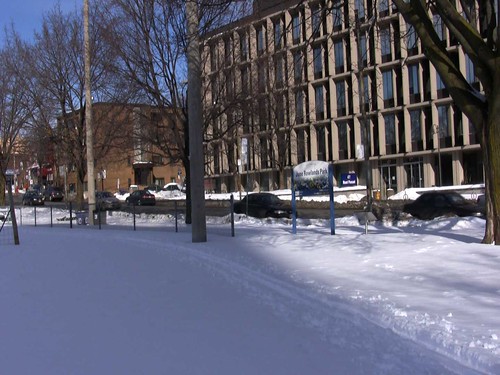
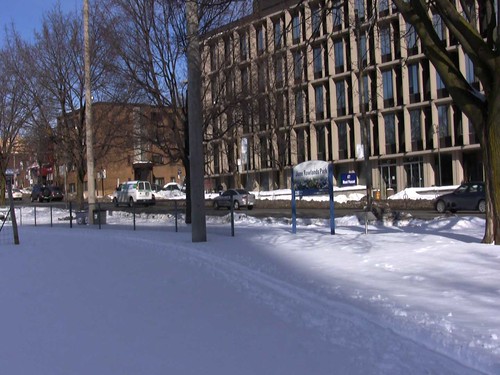
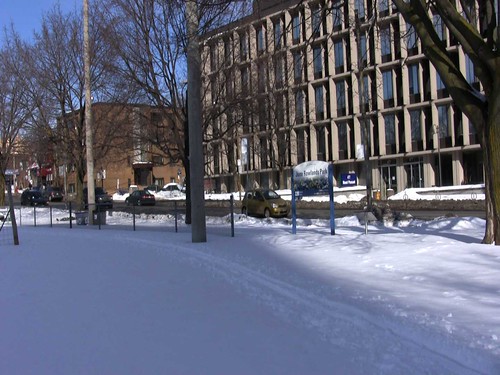
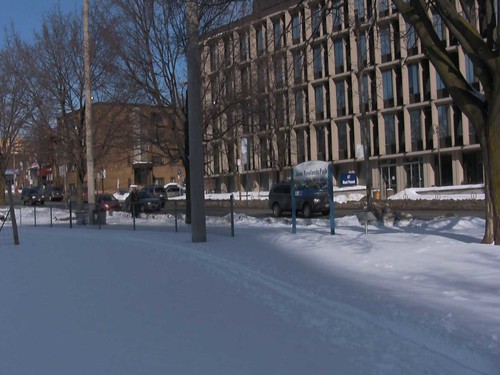
The HV30 comes loaded with a whole bunch of presets for typical situations that someone might come across while shooting. There are eight settings (Portrait, Snow, Sports, Spotlight, Beach, Night, Sunset, and Fireworks), and I shot footage with the HV30 in 1080 60i mode, shooting just 10 seconds per setting in order to minimize the shifting sun (directly behind the camera).

First up, the Snow Mode, just because I’m shooting a snowy field. As seen above, the image looks pretty good, with what appears to be balanced colour. The snow in the sunlight looks blown out, though.
The snow in shadow and in the sunlight halfway up on the left doesn’t look blown out, nor does the park sign just right of centre. Something with this setting doesn’t like a mix of shadow and light, even if it’s snow. The tree shadow in the lower right has a slight tint to it—somewhat magenta? That would mean the red and blue is cranked up or the green channel is cut. I’m definitely interested in seeing the histograms for this series of test images!
Next, the Beach Mode:

First thing I noticed was that the shadow of a bare tree (lower right) has lost the magenta the Snow Mode gave it, but the detail is about the same. The broken snow in the lower right is not defined very well—it looks blown out like in Snow Mode. The red channel is definitely subdued here—look at the brick building and the concrete pole on the left side of the image and the office building across the road.
Our third setting of the day is the Night mode. Shooting a snowy field on a bright winter’s day is probably not the best way to test this setting, but I was interested by the differences with this mode compared to Snow and Beach:

Looks darker overall, but I think that’s what anyone would expect. What is interesting is that the broken snow on the lower right is sharp and not blown out. The brick building and the concrete pole have more red to them like the Snow mode compared to the Beach mode, so at this point I’m thinking the Beach mode must chop the red channel down compared to Snow and Night. Good to know!
Next, the Portrait mode. Designed for making people look good in close-ups, probably by doing something with the red channel, here’s what it does with a snow-covered park:

Like the Night mode, this is not the best subject to shoot with this mode. The image is dark, but the broken snow is not blown out, and the brick building and concrete pole don’t seem to have lost any of the red as in the Beach setting. I was struck by how similar this image was to the Night mode image—I had to go back and make sure I hadn’t used the same image twice by mistake. When I do another round of tests, I’ll have to find a better subject to fully understand how the Portrait Mode affects the HV30’s performance.
Next, the Sports Mode. My first guess was that this mode would speed up the shutter speed to better capture fast action, but I have a TV with a sports setting that shifts the colour balance away from the red channel (the TV’s movie setting definitely warms up and image by shifting towards the red).

Here’s what the Sports Mode did with my snowy park. It resembles the Portrait and the Night Modes. The broken snow is not blown out, and the image is darker overall. The red in the brick building and the concrete pole doesn’t look altered at all (a red car happened to pass through and other than being dark, it looks red).
Next, the Spotlight mode. Interesting to see how it compensates for the dark and light areas in the frame—it seems to darken everything equally:

The dark is definitely darker, and the lighter areas are definitely darker, too, so this is clearly the wrong setting to use in this type of situation. I’m looking forward to comparing the histograms for the last 3 modes, just to see what the differences are.
Next, I fired up the Sunset Mode (which I assume could be used for sunrises, too?).

It looks like it’s somewhere in the middle of the pack. The broken snow is still sharp, and the red channel doesn’t look suppressed, but it’s a brighter image.
Finally, my favourite of these tests: the Fireworks mode. Not surprisingly, a snow-covered park doesn’t work with this image at all. I captured a perfectly white image:

I never suspected changing the recording program on the HV30 would crack me up, but this one did! Rest assured, I shot all 10 seconds of this blank shot like the others (and the HV30 still worked after I was done). This setting must work better in low-light, high-contrast situations. Again, this is one I’ll have to test under much different conditions.
Next time, the histograms of these pics to see what exactly the HV30 did for each mode.
